
 671
671
There are occasions when a you will need to relist a property you had listed previously with Canopy MLS. When this need arises, you do not have to start the listing completely over. Instead, you can use the "copy" feature to create your new listing. As long as the previous listing was in your name, at your current office, you you will be able to create a new listing with all of the information pre-filled from your previous listing. If you have moved to a new office since the property was last listed, or if the property was listed by a different agent, the copy feature will not be available.
To get started, click the “Add/Edit” tab at the top of Matrix,

then click “Add New” at the top left of the page,
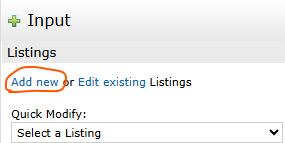
then select the property category you are working with.
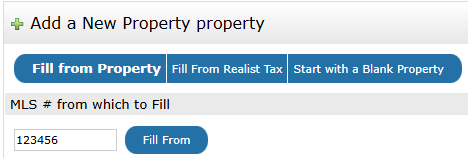
On the next screen you will have three options for filling your listing – “Fill from Property”, “Fill from Realist Tax”, and “Start with a Blank Property”. This first option is the copy feature. Enter the MLS number of your old listing into the “MLS number from which to fill” box, then click “Fill from”.
This creates a new listing with most, but not all, of the information from the previous listing. Fields such as “Marketing Date”, “Expiration Date”, and "List Price" do not copy as these will generally change from one listing to the next. This means it will be necessary to review the listing for completeness.
Images can be copied from one listing to another as well, but this is done separately from the above data copy. To be able to copy images, the listing must be saved in "Incomplete" status, and it must not have had any images added. Adding an image, or saving the listing in "Coming Soon", "Active", or "Closed" status will remove the image copying option.
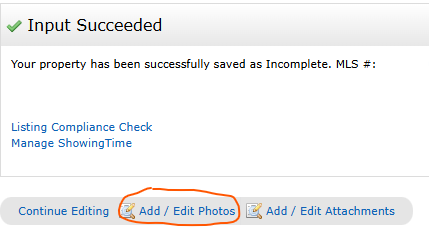
Once you have saved a listing as “Incomplete” status click the “Add/Edit Photos” button that appears on the “Input Succeeded” page.
At the top of this page click the link to “Import photos from another listing”, which will prompt you for the previous MLS number.
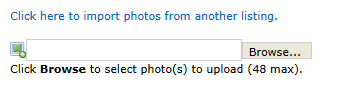
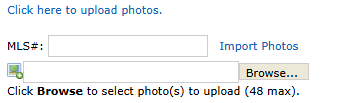
Click the “Import Photos” button to bring the photos into the new listing, then click “Certify and Save” when you are finished.

